WebMailソフトのRoundCubeをインストールします。OSはRHEL6.0です。メールサーバについてはPostfix+Dovecotを想定しており、 RoundCubeと同居を想定しております。RoundCubeはyumからインストール可能です。
# yum install roundcubemail # rpm -qa | grep roundcube roundcubemail-0.7.3-1.el6.noarch |
RoundCubeはphpで作成されていますので必要なphpパッケージも合わせてインストールされます。まず、MySQLの設定をおこないます。
# vi /etc/my.cnf [mysqld] datadir=/var/lib/mysql socket=/var/lib/mysql/mysql.sock user=mysql # Disabling symbolic-links is recommended to prevent assorted security risks symbolic-links=0 default-character-set = utf8 [mysqld_safe] log-error=/var/log/mysqld.log pid-file=/var/run/mysqld/mysqld.pid [mysql] default-character-set = utf8 |
/etc/php.iniに以下を追記します。
# vi /etc/php.ini date.timezone='Asia/Tokyo' |
DBとしてMySQLを利用しますので以下のようにDB作成を行います。
# /usr/bin/mysqladmin -u root password 'xxxxxxx' # mysql -u root -p Enter password: [上で入力したもの] Welcome to the MySQL monitor. Commands end with ; or \g. Your MySQL connection id is 46977 Server version: 5.1.66 Source distribution Copyright (c) 2000, 2012, Oracle and/or its affiliates. All rights reserved. Oracle is a registered trademark of Oracle Corporation and/or its affiliates. Other names may be trademarks of their respective owners. Type 'help;' or '\h' for help. Type '\c' to clear the current input statement. mysql> create database roundcube default character set utf8 collate utf8_general_ci; Query OK, 1 row affected (0.02 sec) mysql> grant all privileges on roundcube.* to roundcube@localhost identified by '*******'; Query OK, 0 rows affected (0.05 sec) |
インストールされたsqlファイルを実行します。
# mysql -u roundcube -p roundcube < /usr/share/doc/roundcubemail-0.7.3/SQL/mysql.initial.sql Enter password: [ 上のSQL文で設定したパスワード ] |
次にRoundCubeの設定を行います。DBに関する設定ファイルが/etc/roundcubemail/db.inc.phpでRoundCube本体が /etc/roundcubemail/main.inc.phpです。それぞれの必要なところのみ編集していきます。
# vi /etc/roundcubemail/db.inc.php // $rcmail_config['db_dsnw'] = 'mysql://roundcube:pass@localhost/roundcubemail'; $rcmail_config['db_dsnw'] = 'mysql://roundcube:*******@localhost/roundcube'; |
# vi /etc/roundcubemail/main.inc.php $rcmail_config['log_driver'] = 'syslog'; $rcmail_config['default_host'] = '127.0.0.1'; $rcmail_config['imap_auth_type'] = 'PLAIN'; $rcmail_config['smtp_server'] = '127.0.0.1'; $rcmail_config['mail_domain'] = 'unix-power.net'; $rcmail_config['language'] = 'ja_JP'; $rcmail_config['default_charset'] = 'ISO-2022-JP'; $rcmail_config['timezone'] = +9; |
続いてapache用の設定を修正します。
# vi /etc/httpd/conf.d/roundcubemail.conf
#
# Round Cube Webmail is a browser-based multilingual IMAP client
#

Alias /roundcubemail /usr/share/roundcubemail

<Directory /usr/share/roundcubemail/>
        Order Deny,Allow
        Deny from all
#        Allow from 127.0.0.1
        Allow from all
</Directory>

# /etc/rc.d/init.d/httpd restart
|
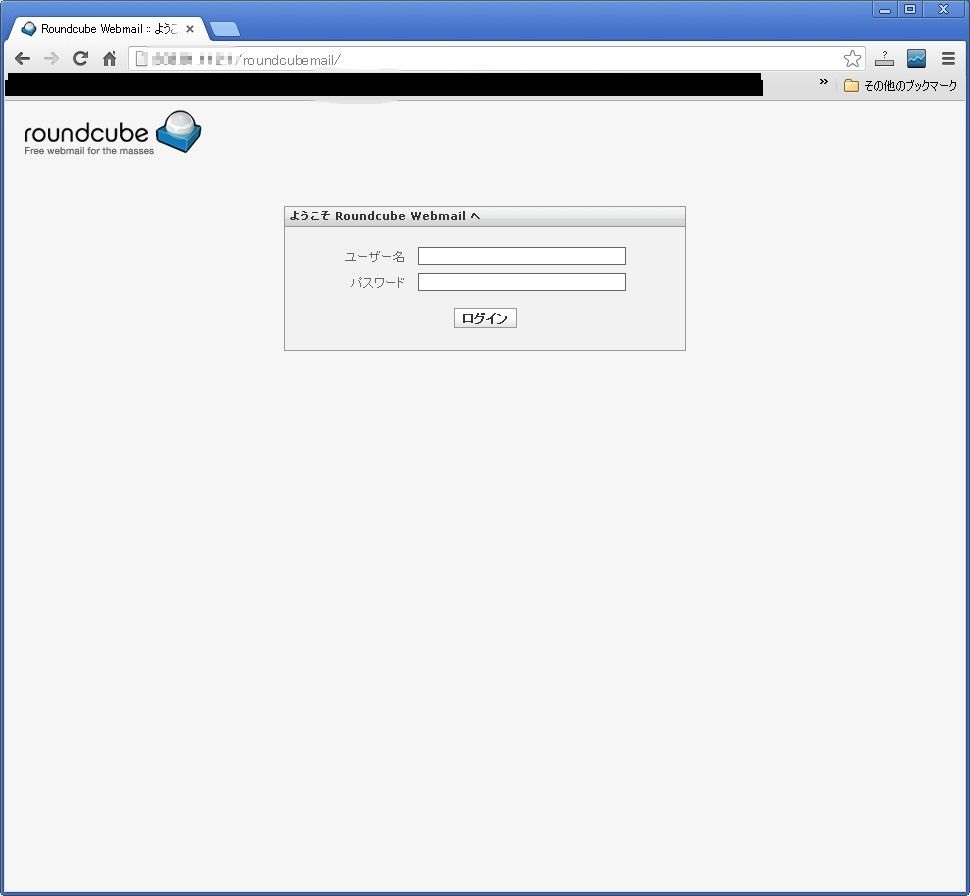
これでブラウザからhttp://[ip]/roundcubemail/にアクセスすると以下の画面が表示されます。
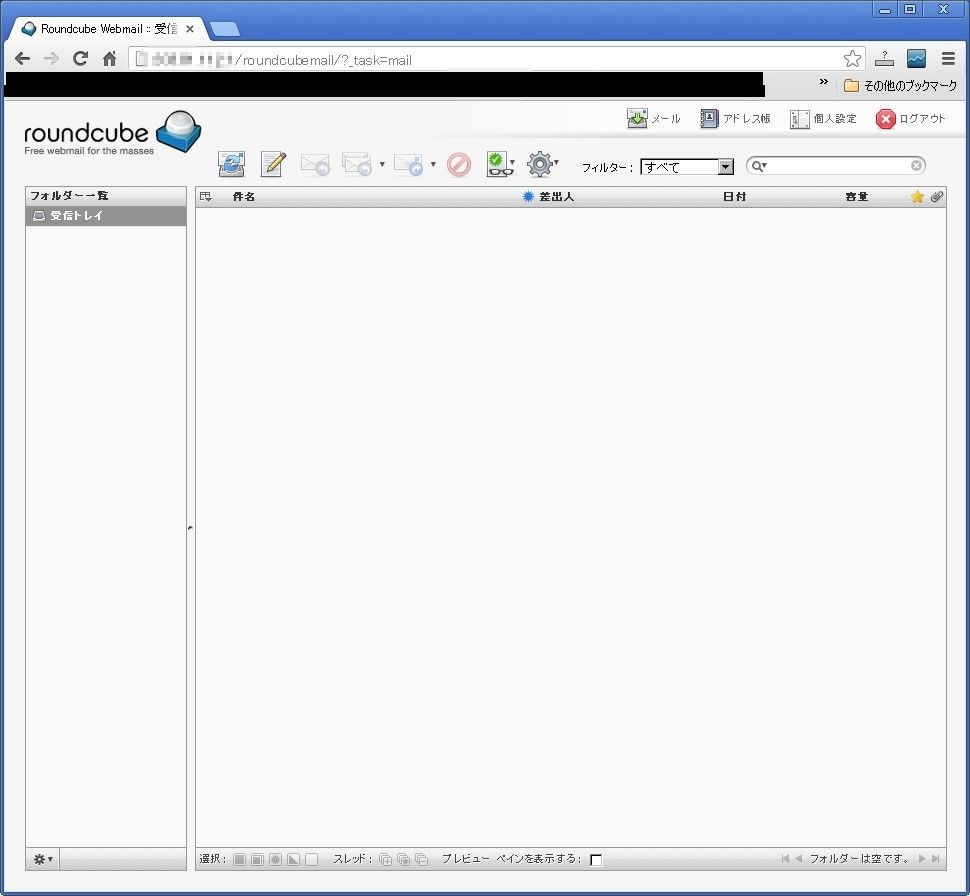
メールアカウントでログインします。
なかなか見た目も綺麗で使い勝手が良いと思います。細かい設定についてはまた追々と。

